
How to migrate your iCloud contacts into Outlook
Whether you want to move from an iPhone to an Android phone, remove your private information from iCloud; or transfer your iCloud contacts to Outlook, you can download contacts from iCloud without using third party software. The tricky part is that Outlook won’t import multiple vCard contacts. It only imports the first vCard in the file.
This route looks long, but the steps are simple as they’re broken into four parts:
- Export iCloud contacts to vCard file.
- Import the vCard file into Windows Contacts.
- Export Windows Contacts to CSV file.
- Import iCloud contacts into Microsoft Outlook.
Once done, you’ll be able to manage your contacts from the privacy of your computer. If you want to automatically and privately sync Outlook calendar with phones, you can do that with AkrutoSync. Your contacts, tasks, and notes can also be synchronized. After you complete this guide, you won’t sync Outlook contacts with iCloud.
Let’s get you going and export your contacts from iCloud and move them into Outlook.
Part 1. Export iCloud contacts to vCard
The first part of the process is to export your contacts from iCloud.
1. Sign in icloud.com.
2. Select Gear icon to bring up settings.
3. Select “Select All” or press and hold “Shift” and select the contacts you want to export.

4. Select “Export vCard.”
5. Ensure “Save File” is selected and select “OK” to export.

Your iCloud contacts are saved as a vCard on your computer.
Part 2: Import the vCard file into Windows Contacts
The second part of the process is to import your vCard file into Windows.
1. Open Windows File Explorer.
2. Enter c:\users\%username%\Contacts into the address bar to open the contacts folder.

3. Select Import > vCard > Import. (If you can’t see “Import,” you may need to select “>>” to find it.)

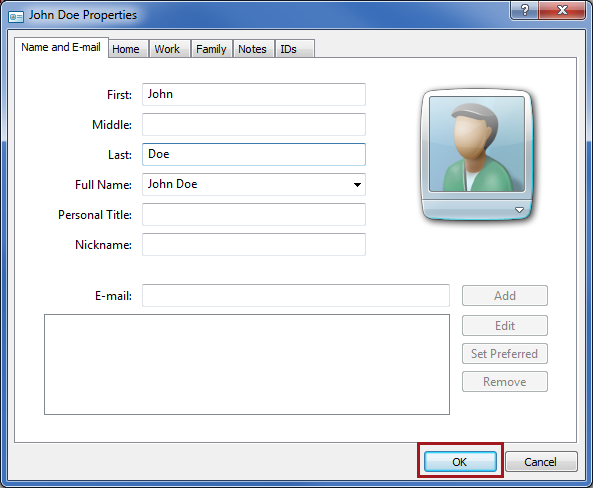
4. Browse to the location of the vCard file that you exported from iCloud.

5. Select “OK” for every contact. (If you want to make a change, you can edit as you go.)
Now you have your contacts on your Windows computer.
Part 3: Export contacts to CSV file
The third part of the process is to export your contacts into a CSV file.
1. Select Export > CSV (Comma Separated Values) > Export. (If you can’t see “Export,” you may need to select “>>” to find it.)

2. Click “Browse” to select the location for the file to be exported.

3. Enter a name for the file and select “Save” to create the CSV file.

4. Select “Next” to select the fields to export.
5. Select the fields to export.
6. Select the fields that you wish to import and click on “Finish” to export as a CSV file.

7. Select “OK” and “Close” to export your contacts into a CSV file.
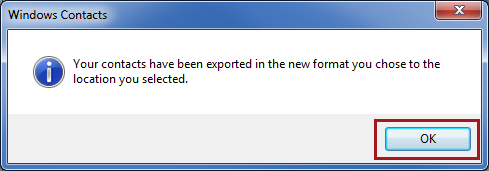
You have a CSV file saved in the location you selected. Time to finish off the process by loading all of your contacts in Microsoft Outlook.
Part 4: Import contacts Microsoft Outlook
The final part of the process is to import your contacts into Outlook for Windows PC.
1. Open Microsoft Outlook.
2. Select File > Open & Export > Import/Export.

3. Select “Import from another program or file” and “Next.”

4. Leave “Comma Separated Values” as the selection and “Next.”

5. Select “Browse” to locate the file to import.
6. Select the CSV file that you have just exported from Windows contacts and click “OK.”

7. Choose how you want Outlook to handle duplicates, then click “Next.”

8. Select the destination folder and “Next.” (Most likely “Contacts.”)

9. Make sure that the CSV file is selected, and click “Finish.”

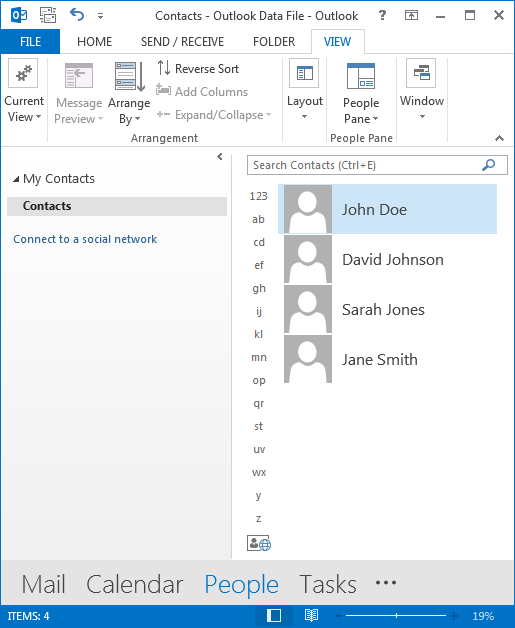
Microsoft Outlook imports your contacts. The amount of time it takes depends on how many contacts you import. Once done, all of your exported iCloud contacts appear in Outlook Contacts in the People tab.
Now that your contacts are in Outlook, you can delete them from iCloud.
Sync Outlook Contacts with phone
You may want to have your contacts’ information with you wherever you go. There’s no need to re-enter the information into your iPhone, iPad, Windows Phone, Android, or whatever devices you have.
Akruto can sync Outlook contacts with your phone. The Windows PC software does it automatically, wirelessly, and directly. Your contact information will show up on your device’s own address book app. One license allows you to sync with unlimited devices.
To see if it’s for you, try Akruto free for seven days.
Learn more about Akruto Outlook sync software:
- Video: How to sync Android phones with Outlook.
- Video: How to sync Outlook with iPhone.
- Video: How to sync Windows Phone with Outlook.
- Article: Sync Samsung Galaxy S6 with Outlook.
- Article: Sync iPhone 6 with Outlook.