
Set up Samsung Galaxy S5 phone to sync with AkrutoSync
Start AkrutoSync program on your PC and click “Configure AkrutoSync”. AkrutoSync will guide you through the configuration process. When prompted to create an Exchange ActiveSync account on your Samsung Galaxy S5 phone do the following
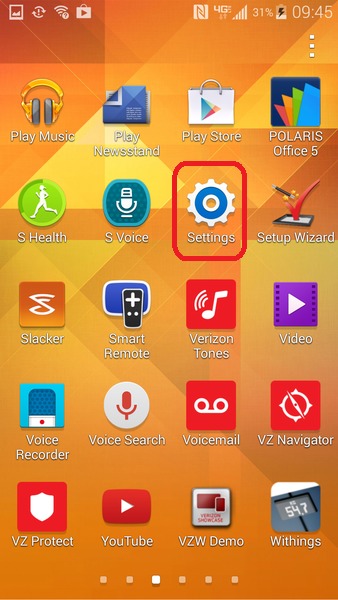
1) Touch the “Apps” icon on your phone’s home screen.

2) Touch “Settings”
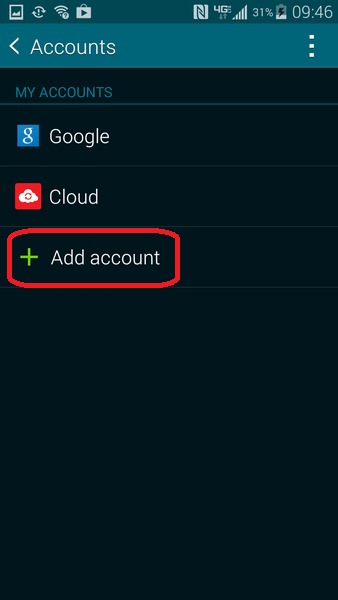
3) Touch “Accounts”

4) Touch “Add Account”
5) Choose the “Microsoft Exchange ActiveSync” account type.

6) Enter the email address shown in AkrutoSync window on your PC and the password that you selected. ATTENTION: do not enter your actual email address – it won’t work. Enter the special email address displayed in AkrutoSync window.

7) If you have not imported the SSL certificate, you will receive the warning shown below. This is expected. Touch “Continue” continue setting up sync with Outlook.

8) Touch “Next”. You do not need to change any settings on this screen. The only setting that has any effect is “Sync schedule”, which is already set to “push”.

9) Name the account and touch “Next”.

Congratulations. Your will automatically connect to your computer using AkrutoSync and start synchronizing your Outlook data. The first sync may take a while if you have a lot of Outlook contacts, appointments and tasks. You will see that some Outlook contacts and tasks appear in your phone even before the first sync is complete. Note that to see events in your phone calendar you need to wait for the first sync to finish. AkrutoSync window on your PC shows sync progress. When you see the “success” status it means that sync has completed.